
Hi loves! This is a random blog post, I made Brazilian cheese bread last night and the recipe was too long for me to post to Instagram so I am posting it here. This is not my recipe the original recipe can be found here & also at the bottom of the page. If you have ever been to Texas De Brasil or Fogo De Chao you have tasted the amazing (complementary) cheese bread which is also gluten free. The bread has a great chewy/cheesy texture and can be reheated for up to a week.


 |
| first batch |
 |
| second batch |
Ingredients
1 cup whole milk
1/2 cup vegetable oil
1 teaspoon salt
2 cups (10 ounces) tapioca flour or sour cassava flour
2 eggs
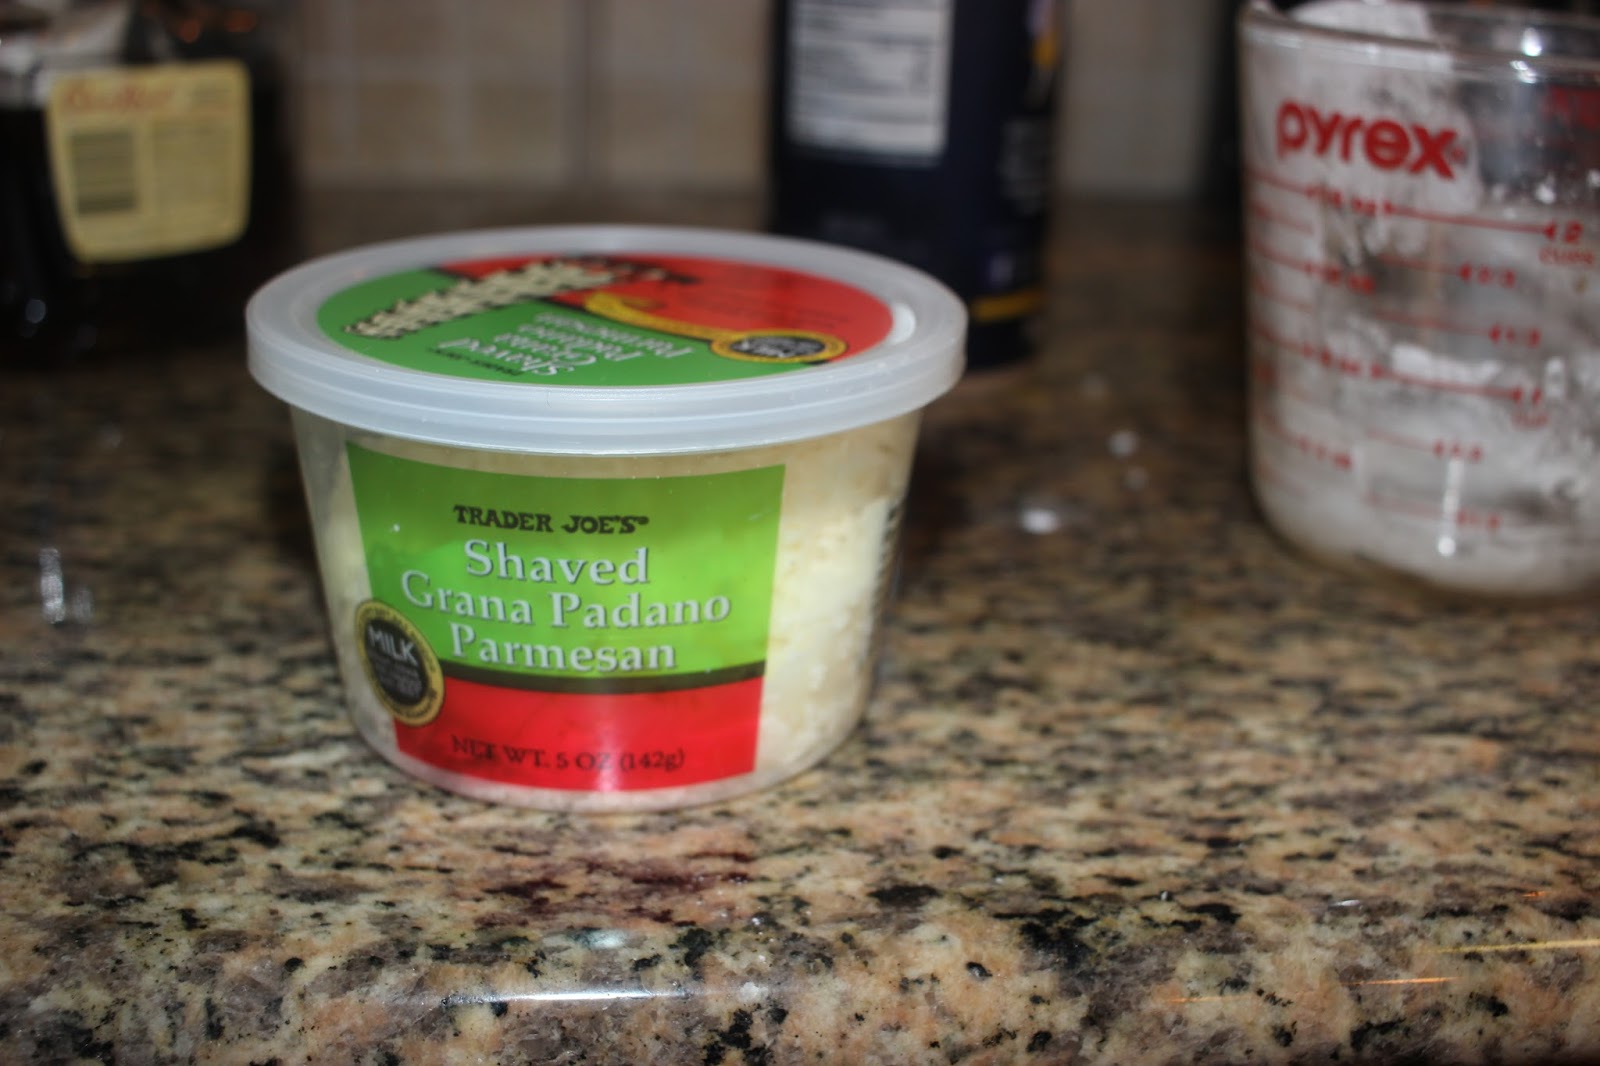
1 - 1 1/2 cups Parmesan cheese
1/2 cup vegetable oil
1 teaspoon salt
2 cups (10 ounces) tapioca flour or sour cassava flour
2 eggs
1 - 1 1/2 cups Parmesan cheese
Equipment
2-quart saucepan
Long-handled spoon
Standing mixer with paddle attachment (or mixing bowl and elbow grease)
Long-handled spoon
Standing mixer with paddle attachment (or mixing bowl and elbow grease)
Instructions
Preheat the oven to 450°F. Line a baking pan with parchment and set aside.
1. Boil the Milk and Oil: Combine the milk, oil, and salt in the saucepan, and whisking occasionally, bring it to a gentle boil over medium heat. Remove from heat as soon as you see big bubbles coming through the milk.
2. Add the Tapioca Flour: Add all of the tapioca flour to the saucepan and stir until you see no more dry tapioca flour. The dough will be grainy and gelatinous at this point.
3. Cool the Dough: Transfer the dough to the bowl of a standing mixer fitted with a paddle attachment. (Alternatively, you can do the next few steps by hand. Be prepared for a work-out.) Beat the dough for a few minutes at medium speed until it smooths out and has cooled enough that you can hold your finger against the dough for several seconds.
4. Beat in the Eggs: Whisk the eggs together in a small bowl. With the mixer on medium, beat the eggs into the dough in two additions. Wait until the first addition has been fully incorporated into the dough before adding the second. Scrape down the sides of the bowl as needed.
5. Beat in the Cheese: With the mixer on medium, beat in the cheese until fully incorporated. The resulting dough will be very sticky, stretchy, and soft with a consistency between cake batter and cooke dough.
6. Portion the Puffs: Using an ice cream scoop, a tablespoon measure, or a dinner spoon, scoop rounded portions of the dough into mounds on the parchment-lined baking sheet. Space the mounds an inch or two apart. Dip your scoop in water to prevent sticking.
7. Bake the Puffs: Transfer the sheet with the puffs to the oven and immediately turn down the heat to 350°F. Bake for 25-30 minutes, until the puffs have puffed, the outsides are dry, and they are just starting to color. Cool briefly and eat. Leftover puffs can be kept in an airtight container for up to a week and re-crisped in a warm oven or toaster oven.


No comments:
Post a Comment